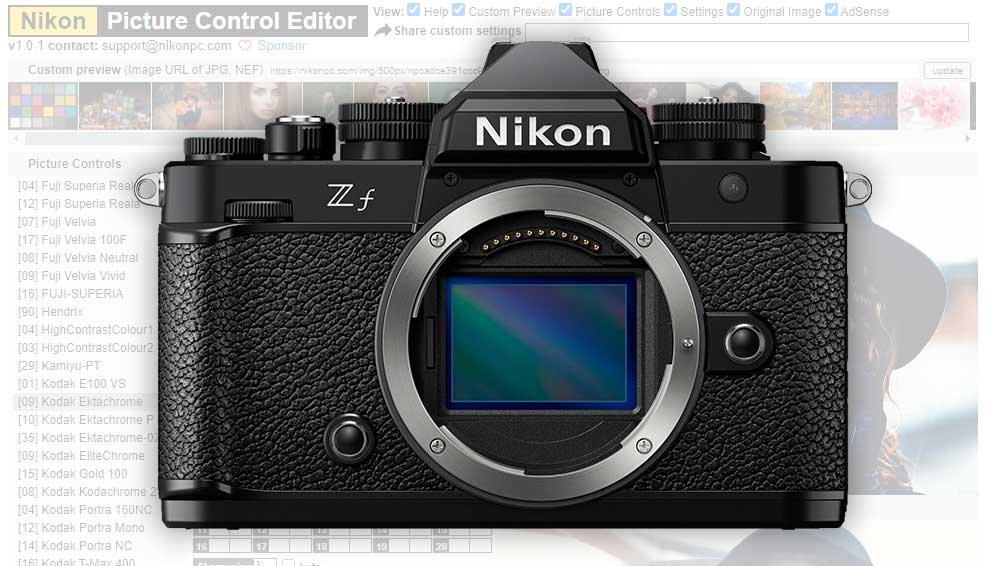

There’s an online tool for Nikon users. It’s been sitting there, happily running away in the background, with most Nikon owners completely unaware of its existence. It’s called the Nikon Picture Control Editor, and it lets you add film simulations to your Nikon camera.
I’ve been using it a long time – my two Nikon D7000 bodies both have Tri-X and TMAX presets for street photography – but now they’ve added Nikon Zf (buy here) support. It also supports most of the rest of the Nikon Z lineup, too.
Nikon Picture Control – Not made by Nikon
Despite the name, Nikon Picture Control was not created by Nikon. It’s a third-party tool. Essentially, you choose the preset you want to download, tell it what memory slot in your camera you want it to take up, and what you want it to be called.
Then, you simply save the files to an SD card and import them to the camera. You do have to do it quite specifically, and full instructions on the website below the list of presets, but it’s quite straightforward.
Why would you do this?
The reasons for this have changed over the years. Or least, the need for it has changed. In the days of DSLRs – and the reason my D7000 bodies have the Tri-X and TMAX profiles for street photography – it was used to sort of custom-process your jpg files straight out of the camera.
When I shoot street photography, I still shoot RAW+JPG, but the JPG files (and the preview on my LCD) are the nice contrasty black and whites I wanted. It’s very rare that I need to go to the RAW file to get a usable image.
Other than this one exception, I don’t use custom profiles at all. I shoot raw and edit them in Lightroom or Adobe Camera Raw or something. And this is the way most photographers think, too. There’s nothing wrong with that at all.
But at times when you don’t want to have to deal with editing the images and it’s just for you, they’re fun to experiment with. Sometimes, they can give you a whole new look on a scene, just because of their unique colour shifts and contrast.
And you can always still shoot RAW+JPG to have the original raw data to process manually, too!
Then video became a thing…
As DSLRs started to get video features, that need for good out-of-camera colour started to become important again. Yes, it’s less so these days with 10-Bit ProRes and 12-Bit raw footage, but it’s nice to not have to deal with it in post if we don’t have to.
These presets give us a way of simulating the look of a particular type of film stock right in the camera. No tweaking or grading in post, just right out of the camera.
It’s not a magic bullet. You’ll still want to sure your white balance and exposure are good. It won’t make a bad shot look good. But it will make a good shot look more like the way you intended before you even get into editing.
For some, they’ll still want to grade everything in post. But for solo independent creators who shoot a lot of video, this can be a good way to shave some time off your workflow.
Price and Availability
And fortunately, it’s completely free. All you need to do is go to NikonPC.com, choose your preset and follow the instructions to install it.
NikonPC supports pretty much the entire Nikon APS-C and full-frame DSLR lineup – basically, everything except the D3000 series. It also supports all full-frame Nikon Z bodies, including the Zf, Z5, Z6, Z7, Z8 and Z9. No mention of APS-C Z mount bodies, though, so your mileage may vary.


