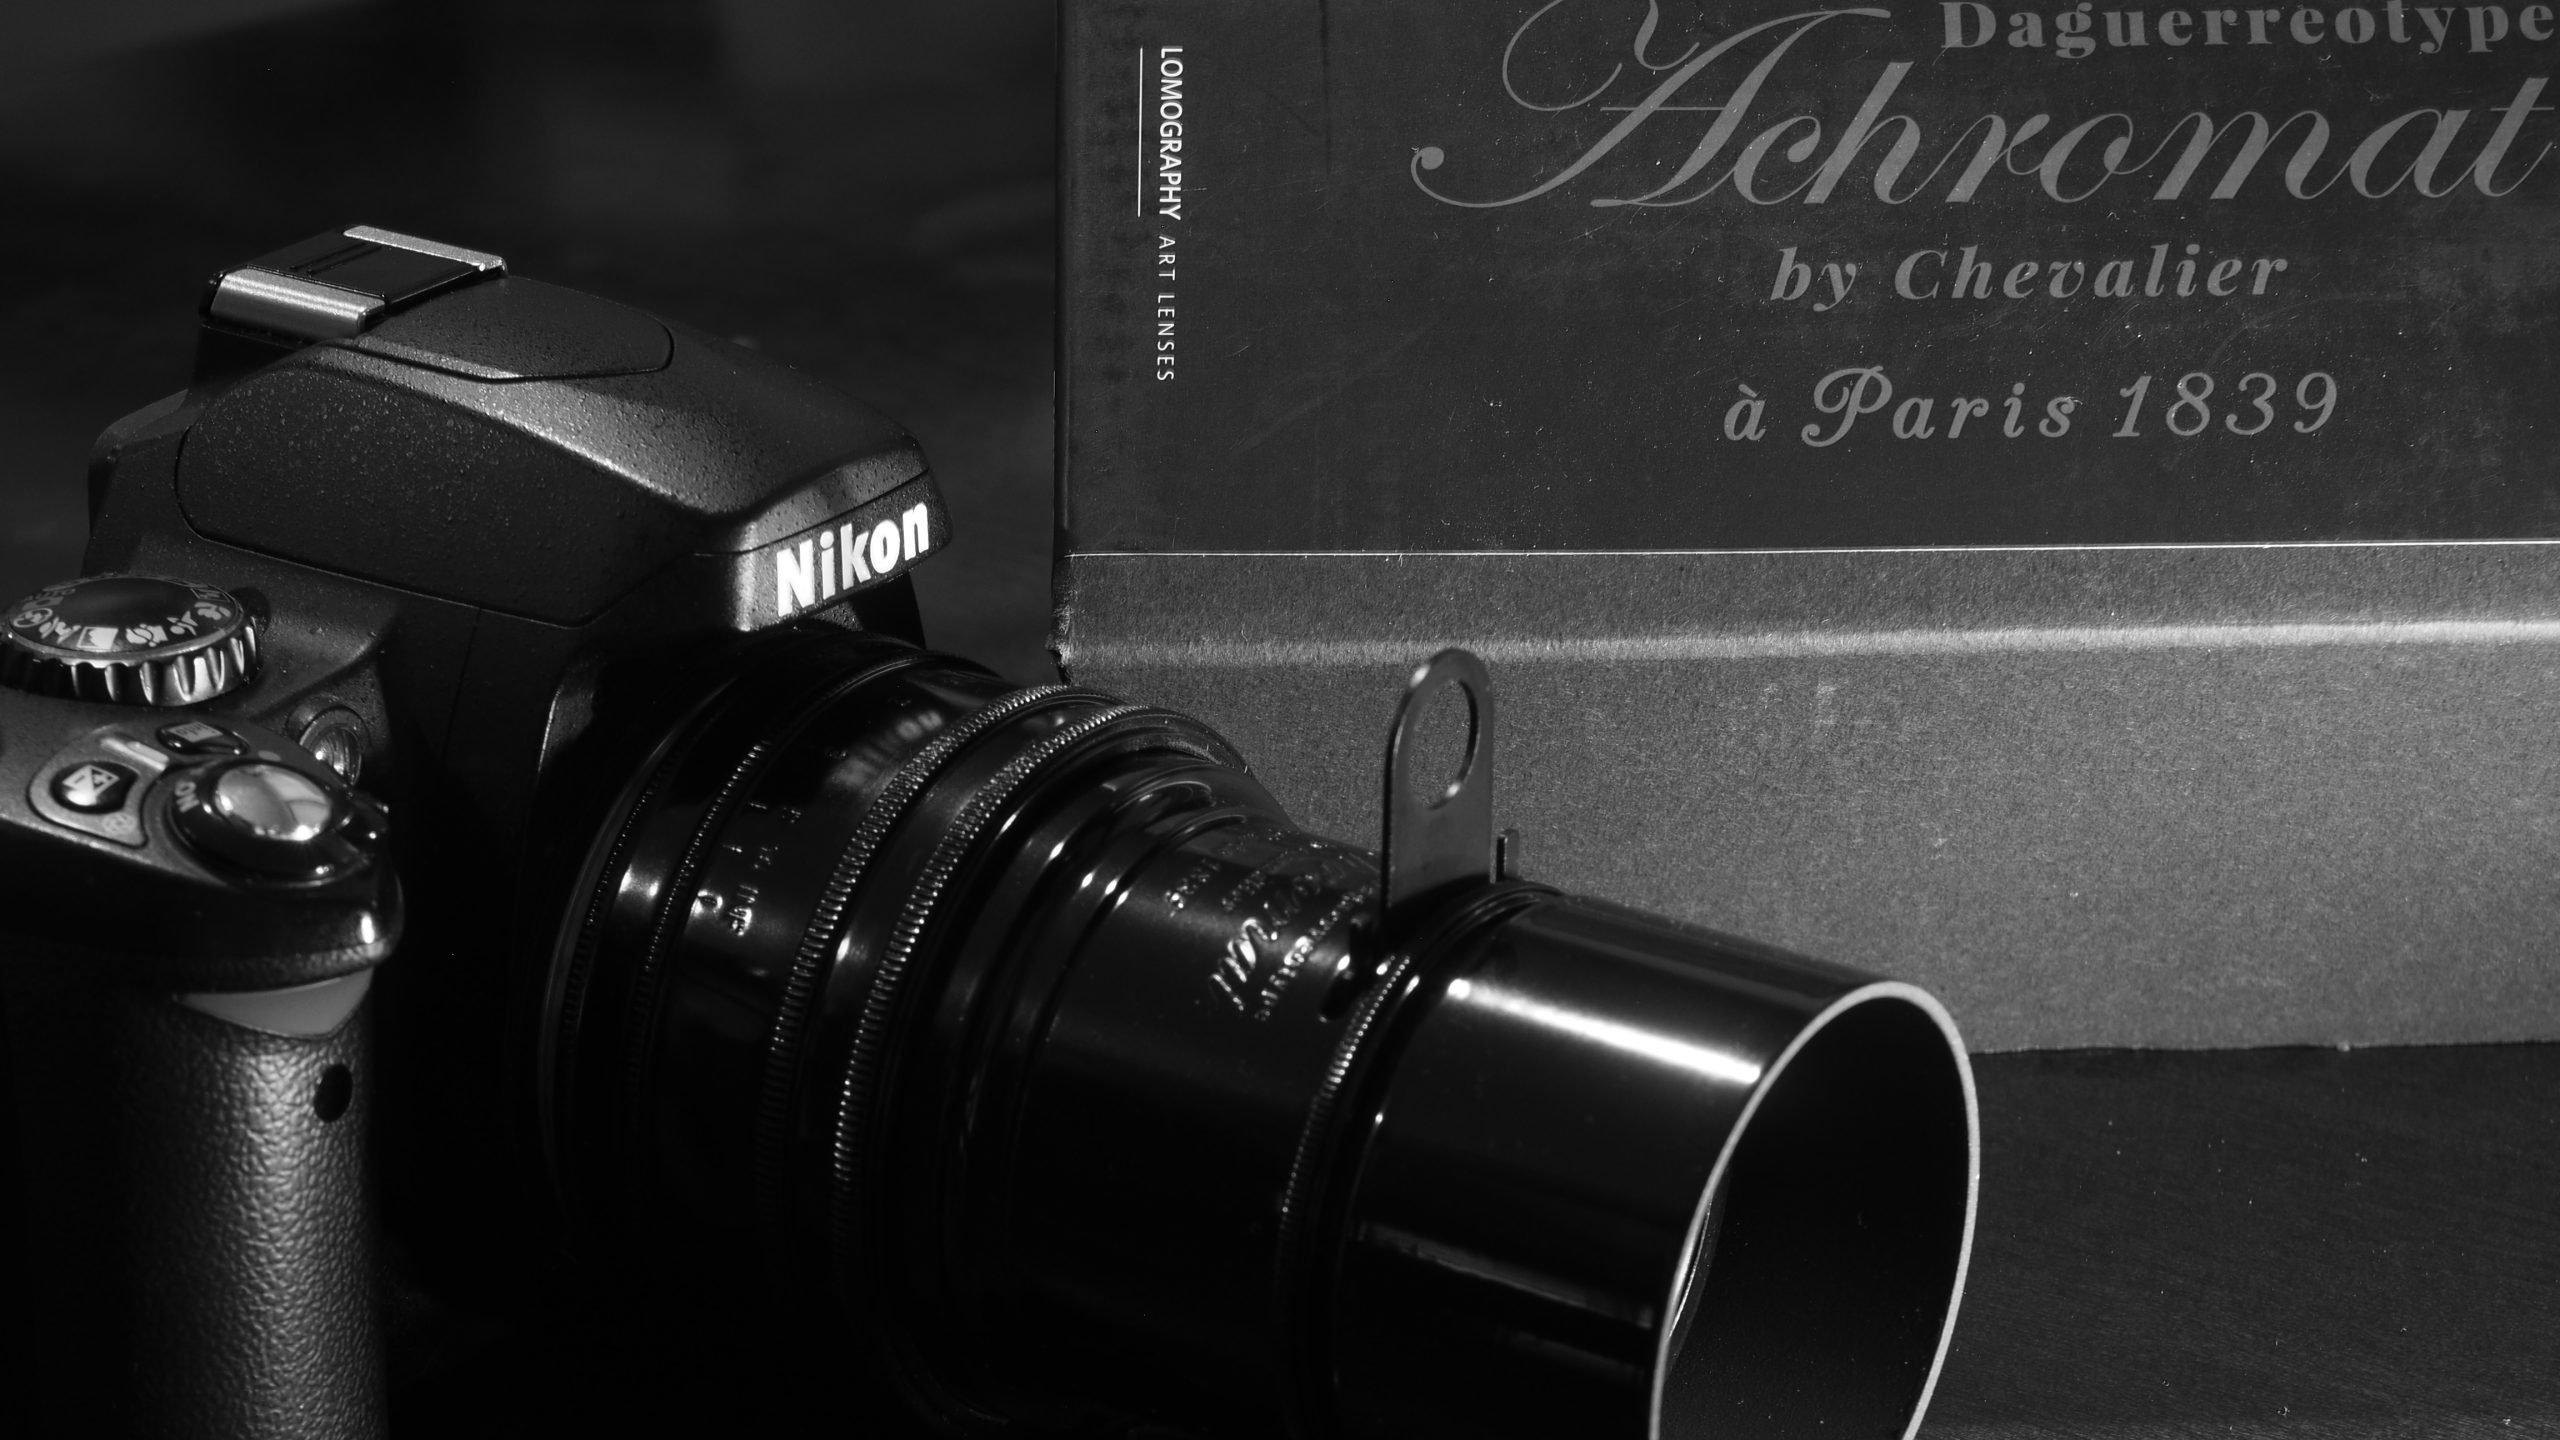

Lomography sells a daguerreotype lens for DSLRs.
Ah, the good old days; they probably weren’t that good for photographers. Inhaling mercury fumes, handling caustic alkali, and fretting about patent payments, those times certainly would’ve made you think twice about your newfound profession. But work was plentiful thanks to Louis-Jacques-Mande Daguerre (see Figure 1).
Figure 1. A slow shutter speed introduces just enough blur to make a modern lens look much older.
Daguerre, the inventor of the polished silver plate image known as a daguerreotype, unleashed his process onto the world in 1839. Many different dates swirl through history for pinpointing the exact time of Daguerre’s discovery, vaguely citing from 1835 – 1850, regardless of when the first daguerreotype was made, licenses were sold to budding photographers worldwide and an adoring public was standing in line for portraits (see Figure 2).
Figure 2. Shoot like it’s 1839…today.
Remarkably, the daguerreotype lives on today. In your DSLR, no less. Lomography, the maker of everything plastic in photography, has a brass art lens for the Canon EF mount (Check our guide on the best canon cameras . The Daguerreotype Achromat 2.9/64 Art Lens Black Brass Canon EF is the twin of the out-of-stock Nikon F lens ($299). While sporting a genuine daguerreotype lens replica on your camera would be ideal for casting your images back to the birth of photography, you can easily duplicate the effect with just about any lens in your camera bag (see Figure 3).
Figure 3. A sharp focus is possible without looking too modern.
Other than obviously setting your camera’s film simulation to a preferred monochrome selection, there are several techniques that you’ll want to adopt for producing an authentic retro-photo (see Figure 4). Here are three suggestions for getting that 1839 look:
Figure 4. Zone focus lenses are great surrogates for getting that daguerreotype look.
1. Set a low manual ISO value. This will help you obtain very slow shutter speeds (see Figure 5).
Figure 5. A horizontal vignette.
2. Switch to manual mode and set the shutter speed to 1/8 sec or slower. This ridiculously slow speed will introduce just enough movement into your photographs to simulate a multi-minute exposure (see Figure 6).
Figure 6. A still life is a prime candidate for a modern daguerreotype.
3. Stop down your aperture for an extended depth of field (see Figure 7).
Figure 7. A yellow filter helped to strengthen distant clouds at the seaside.
Once you’ve stuffed your camera’s memory card full with a bumper crop of antique photographs, it’s time to convert them into daguerreotypes. Well, at least a reasonably good digital approximation of a polished silver print.
Using your fave photograph editor, size each image to approximately 3.25- x 2.75-inch. This roughly duplicates one of the more popular plate sizes (i.e., a sixth plate) that was used for real daguerreotypes (see Figure 8).
Figure 8. Scale your image to the rough dimensions of a sixth plate daguerreotype.
Finally, give each resized photo the darkened edge simulation of a real daguerreotype. The simplest way to arrive at the darkened look is with a vignette. Most vignette options allow a modest amount of customization (see Figure 9). Use these settings to give your photographs a signature look without inhaling dangerous heated mercury vapors.
Figure 9. Darken your photo to taste with a smidgen of vignette.


